This article will focus on step-by-step instructions on how to customize your Business Page.
Specifically, we will cover the following areas:
Navigate to Online Presence>Business Page.
Click on Edit Business Page.

This will display your Business Page URL. Click on the Copy icon to quickly copy the link to your device's clipboard. Also, click on Customize to customize the link. This link can be sent to any new contacts you meet to serve as your digital business card.
That will open a window that takes you to the Business Page Editor.

On the right side panel, you will see the Business Page Settings.
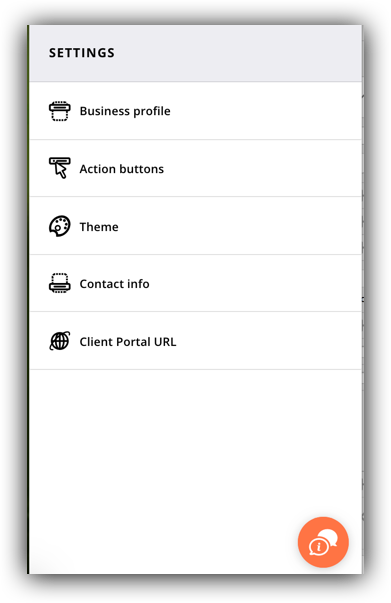
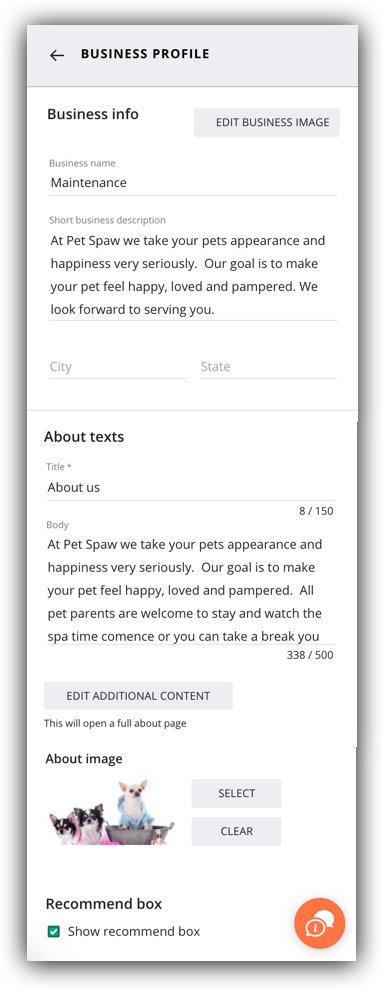
Business Profile
- Add the following information to your business page: business name, short business description, business image, about us text, about image and show recommend box setting.
Action Buttons
- This is where you can add Action Buttons to your Client Portal.
- For each option, you can click on the 3 dots on the right side, and you will be able to:
- Edit
- Delete
- Hide
- Grab Link
- You can click and drag on the action buttons to reorder how they appear in the Client Portal.

- From there you can select the following options:
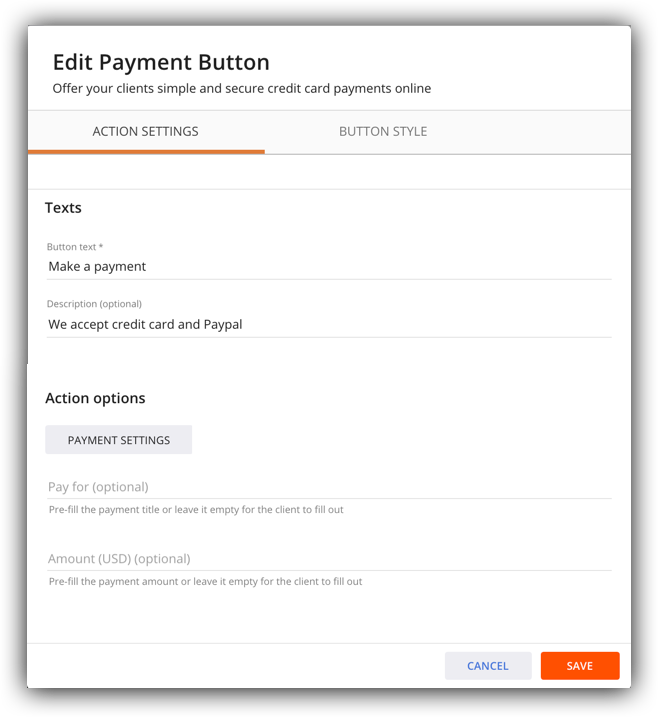
- Make a payment - publish ability to pay
- Update action settings
- Text displayed on Button
- Description
- Pre-fill the pay for field
- Pre-fill the payment amount
- Update action settings
- Make a payment - publish ability to pay
-
-
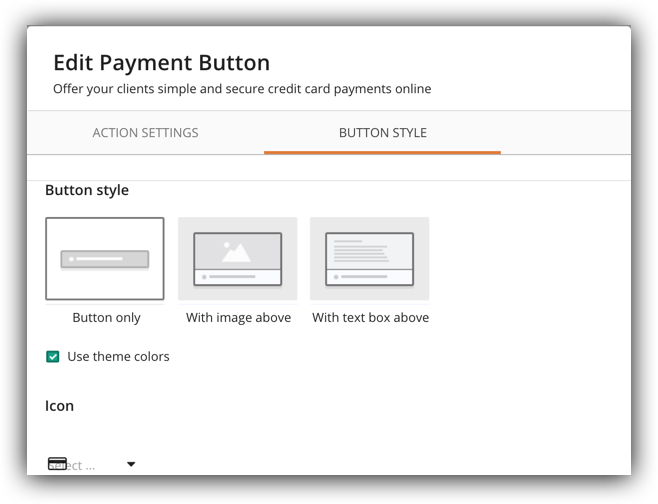
- Update Button Style
- Update Style
- Select using theme color
- Select Icon
- Update Button Style
-
-
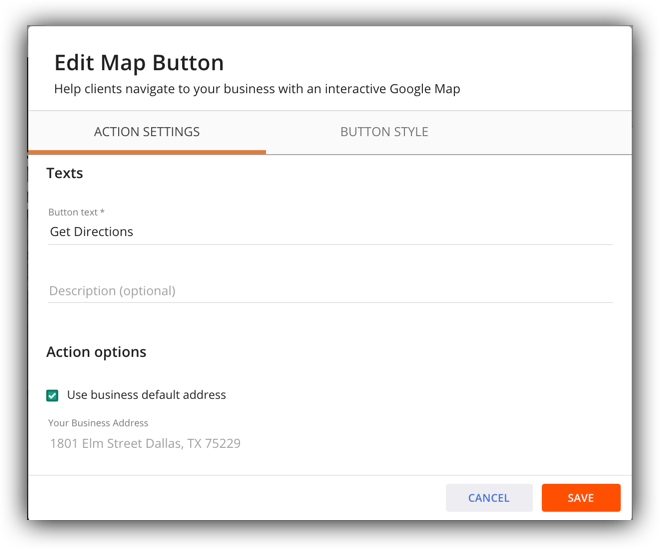
- Get Directions - Adding a map to the business page
- Update action settings
- Button Text
- Description
- Use business default address setting
- Update action settings
- Get Directions - Adding a map to the business page
-
-
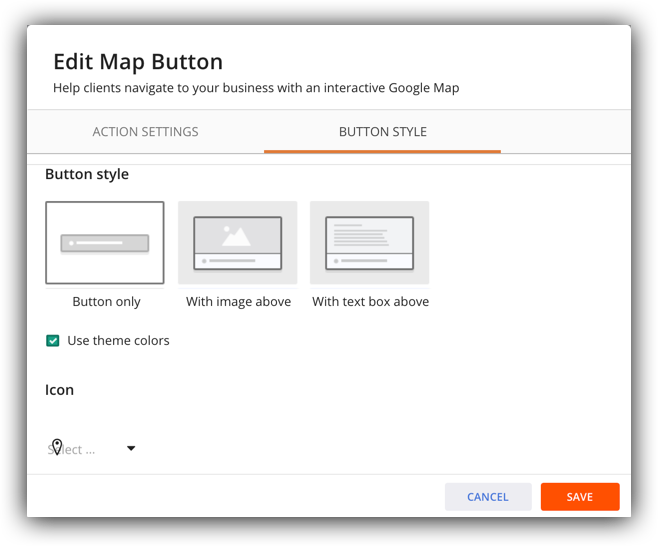
- Update Button Style
- Update Style
- Select using theme color
- Select Icon
- Update Button Style
-
-
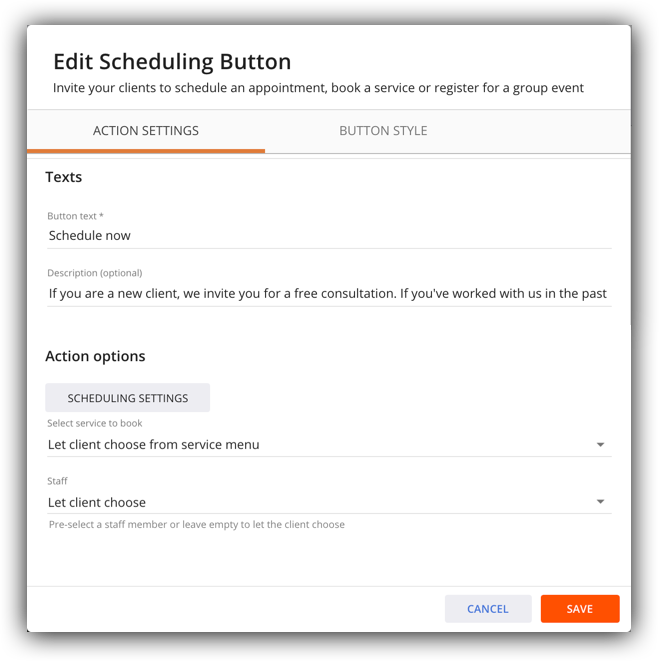
- Schedule Now - Ability to book an appointment or event
- Update action settings
- Button Text
- Description
- Update Scheduling Settings
- Select service
- Ability to set it up to let them select or pre-select for a customized scheduling button.
- Select Staff
- Ability to set it up to let them select or pre-select for a customized scheduling button.
- Update action settings
- Schedule Now - Ability to book an appointment or event

-
-
- Update Button Style
- Update Style
- Select using theme color
- Select Icon
- Update Button Style
-

-
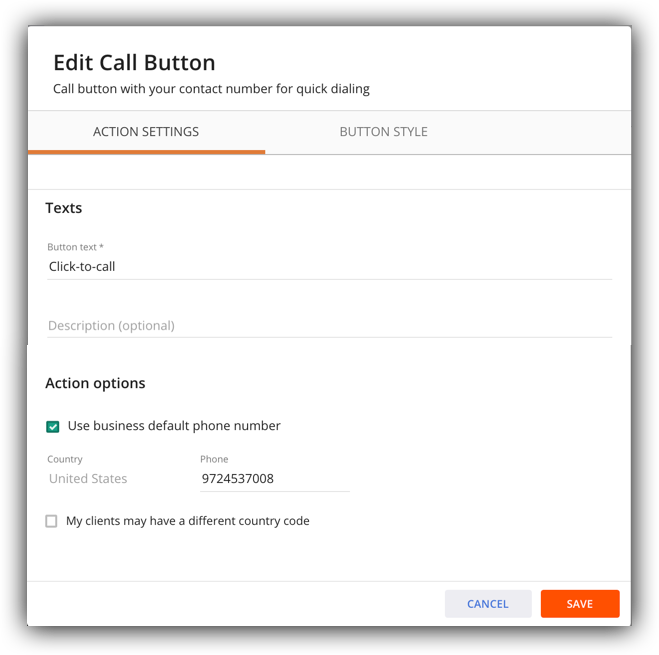
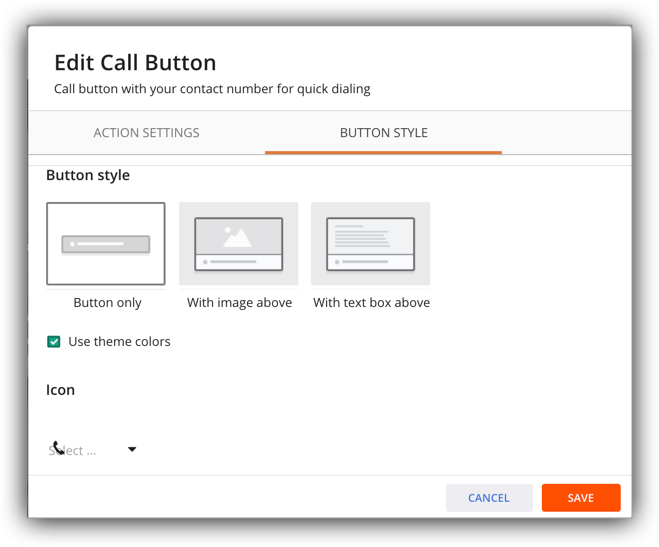
- Click to Call - Mainly used on mobile. Shortcut to call the business.
- Update action settings
- Button Text
- Description
- Assign phone number (default or custom)
- Update action settings
- Click to Call - Mainly used on mobile. Shortcut to call the business.
-
-
- Update Button Style
- Update Style
- Select using theme color
- Select Icon
- Update Button Style
-
-
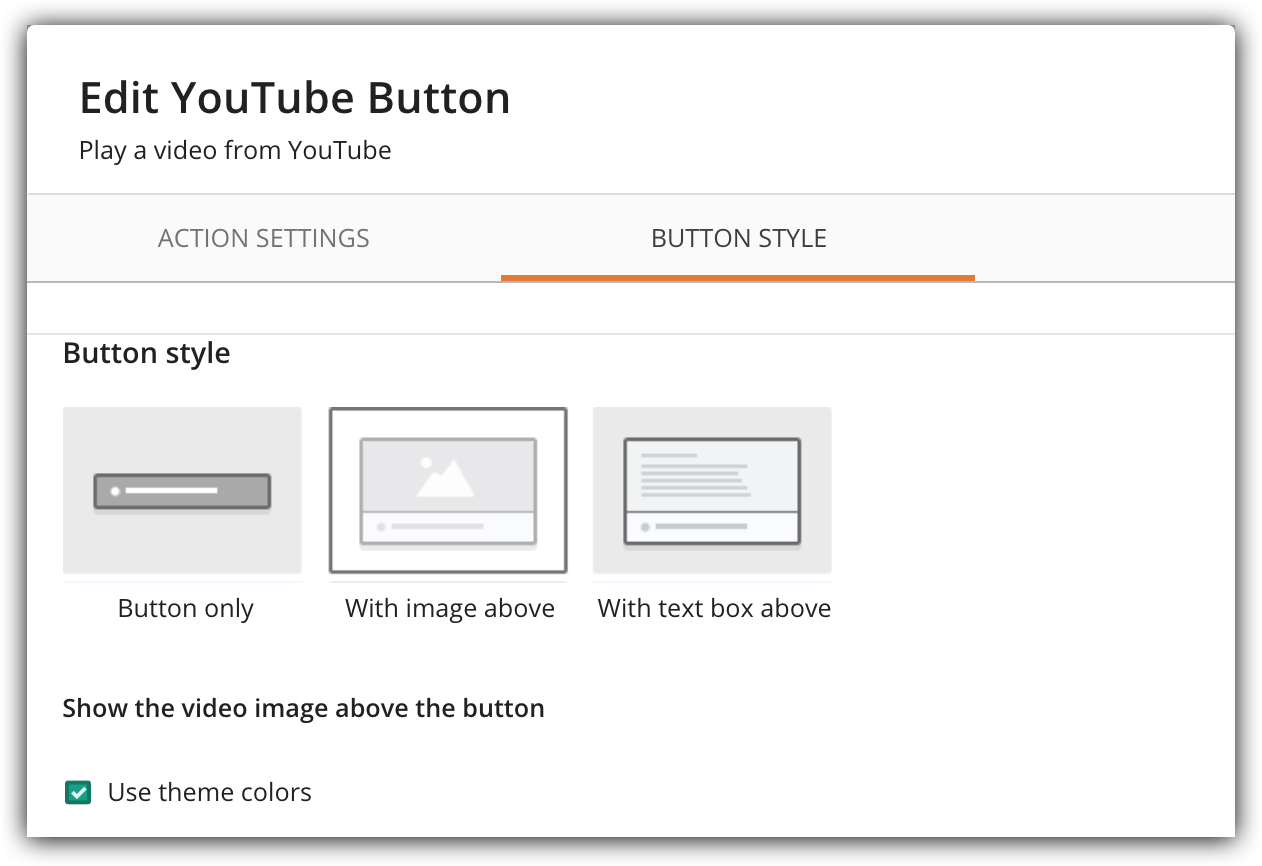
- See What Your Clients Have to Say - Youtube button
- Update action settings
- Button Text
- Description
- Assign phone number (default or custom)
- Update action settings
- See What Your Clients Have to Say - Youtube button

-
-
- Update Button Style
- Update Style
- Select using theme color
- Select Icon
- Update Button Style
-
-
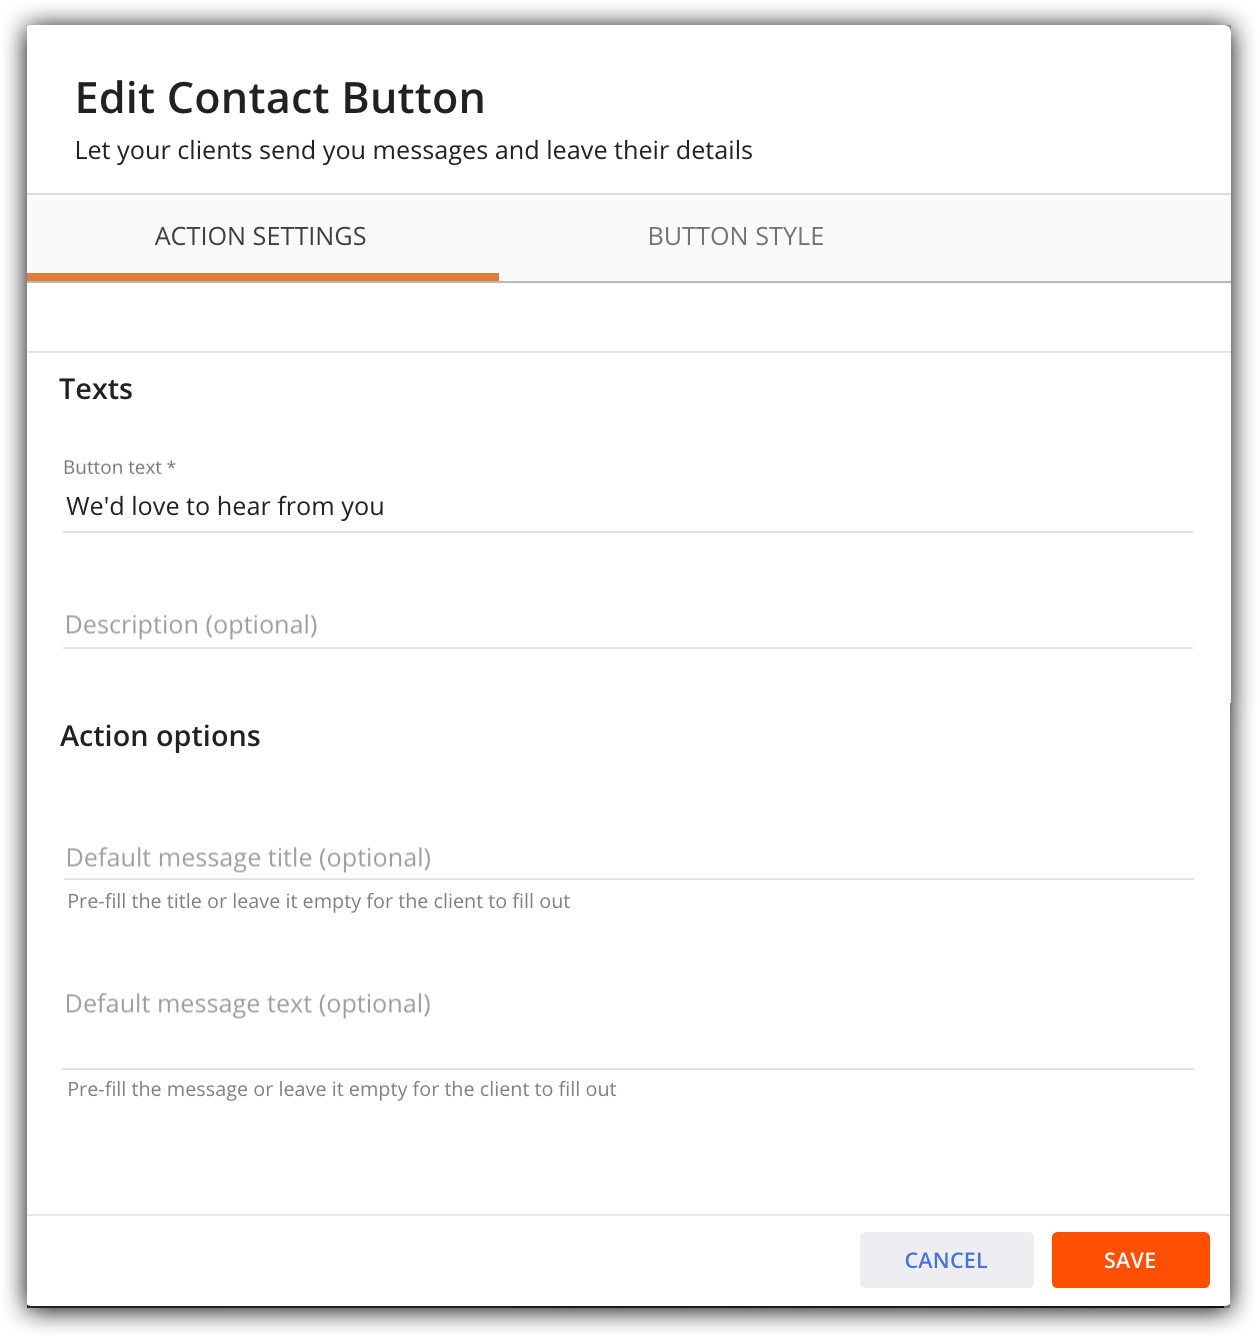
- We'd Love to Hear from You - Contact Button
- Update action settings
- Button Text
- Description
- Assign phone number (default or custom)
- Update action settings
- We'd Love to Hear from You - Contact Button
-
-
- Update Button Style
- Update Style
- Select using theme color
- Select Icon
- Update Button Style
-

-
- Additional Action Buttons
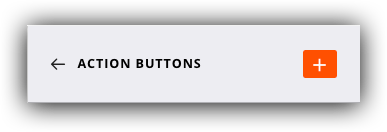
- You can add additional action buttons by clicking on the Plus sign next to Action Buttons or on Add Action at the bottom of the Action Buttons panel.
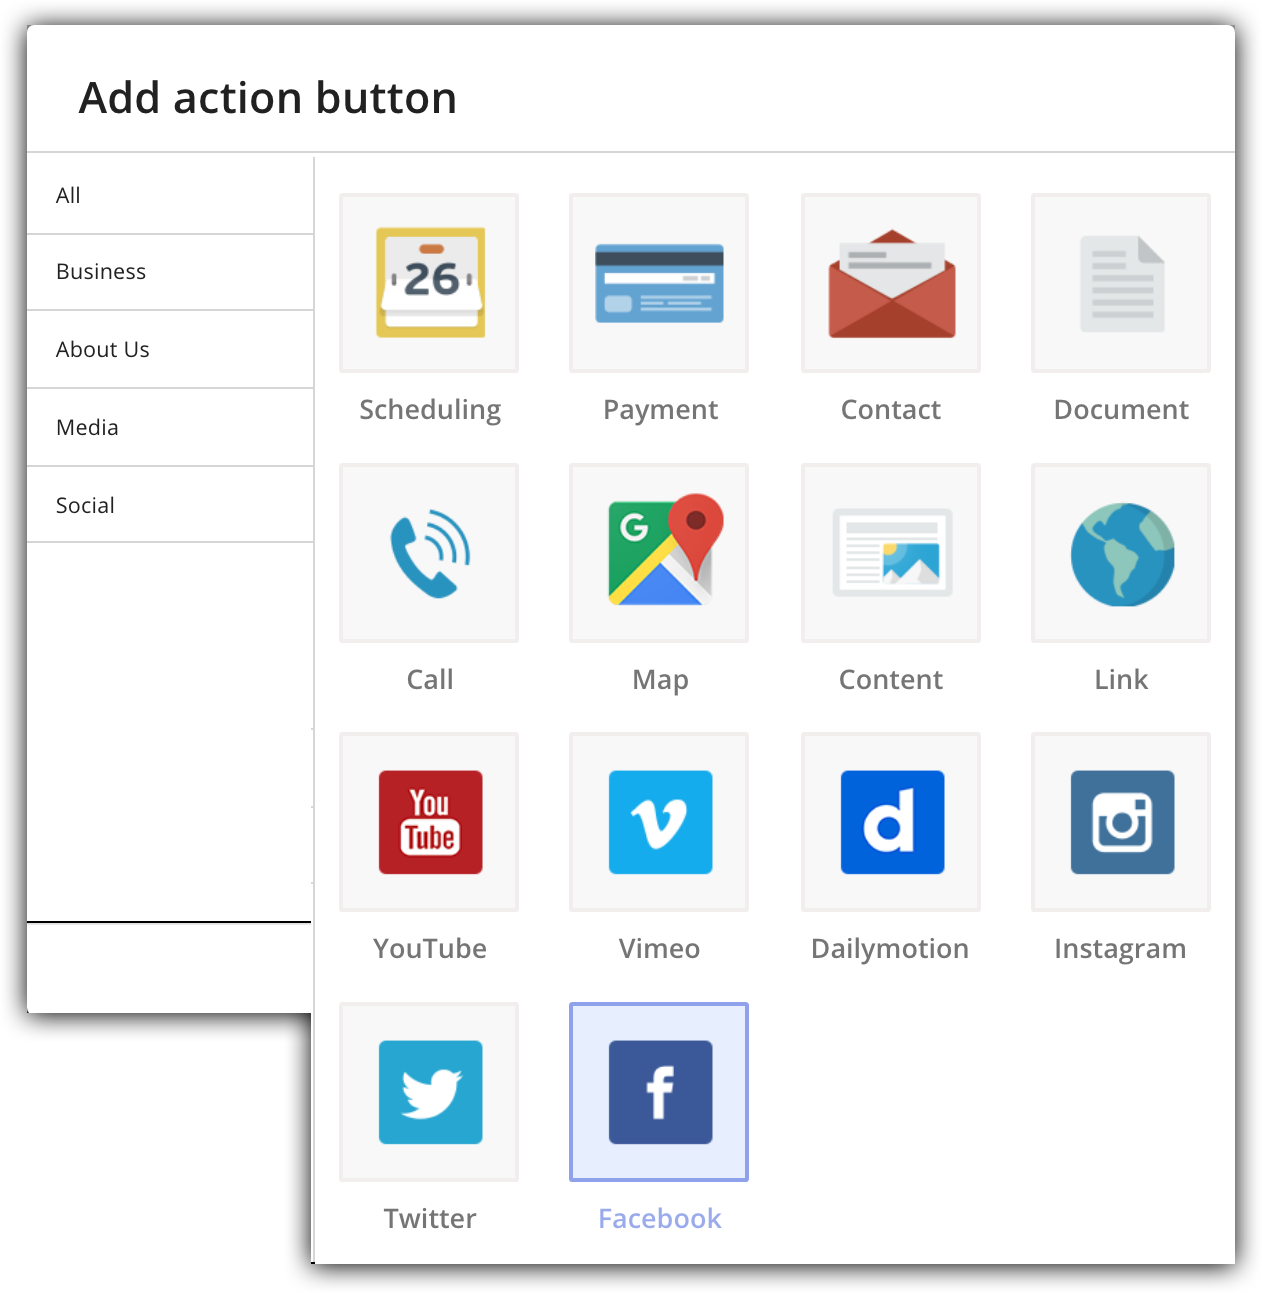
- You can add additional action buttons by clicking on the Plus sign next to Action Buttons or on Add Action at the bottom of the Action Buttons panel.
- Additional Action Buttons
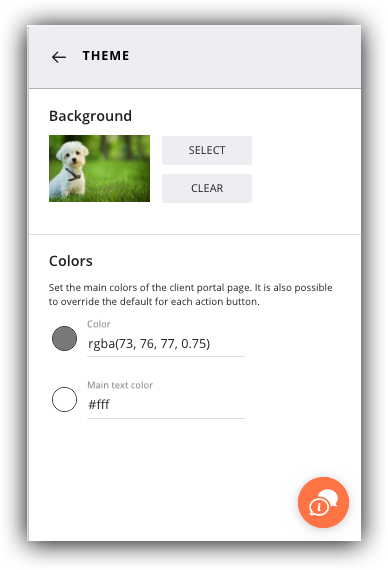
Theme
- This is where you select the background image and color scheme for your business page.
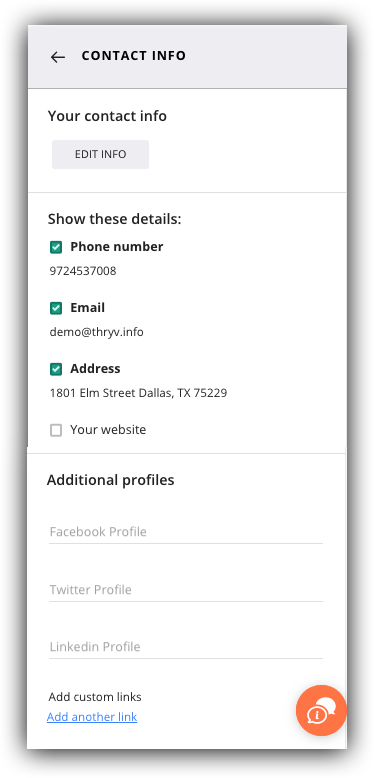
Contact Info
- Setup of the Contact Info to appear on the business page.
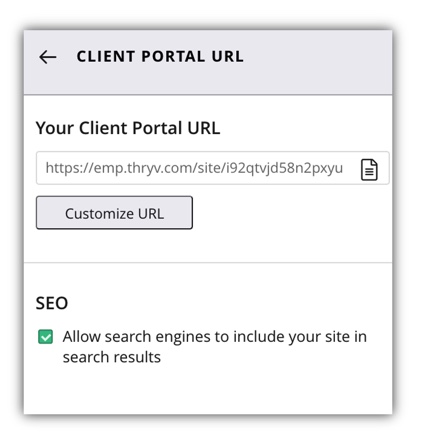
Client Portal URL
- Provides you the link to the client portal URL
- Allows you to customize the link
- SEO setup - Allow search engines to include your site in search results

Comments
0 comments